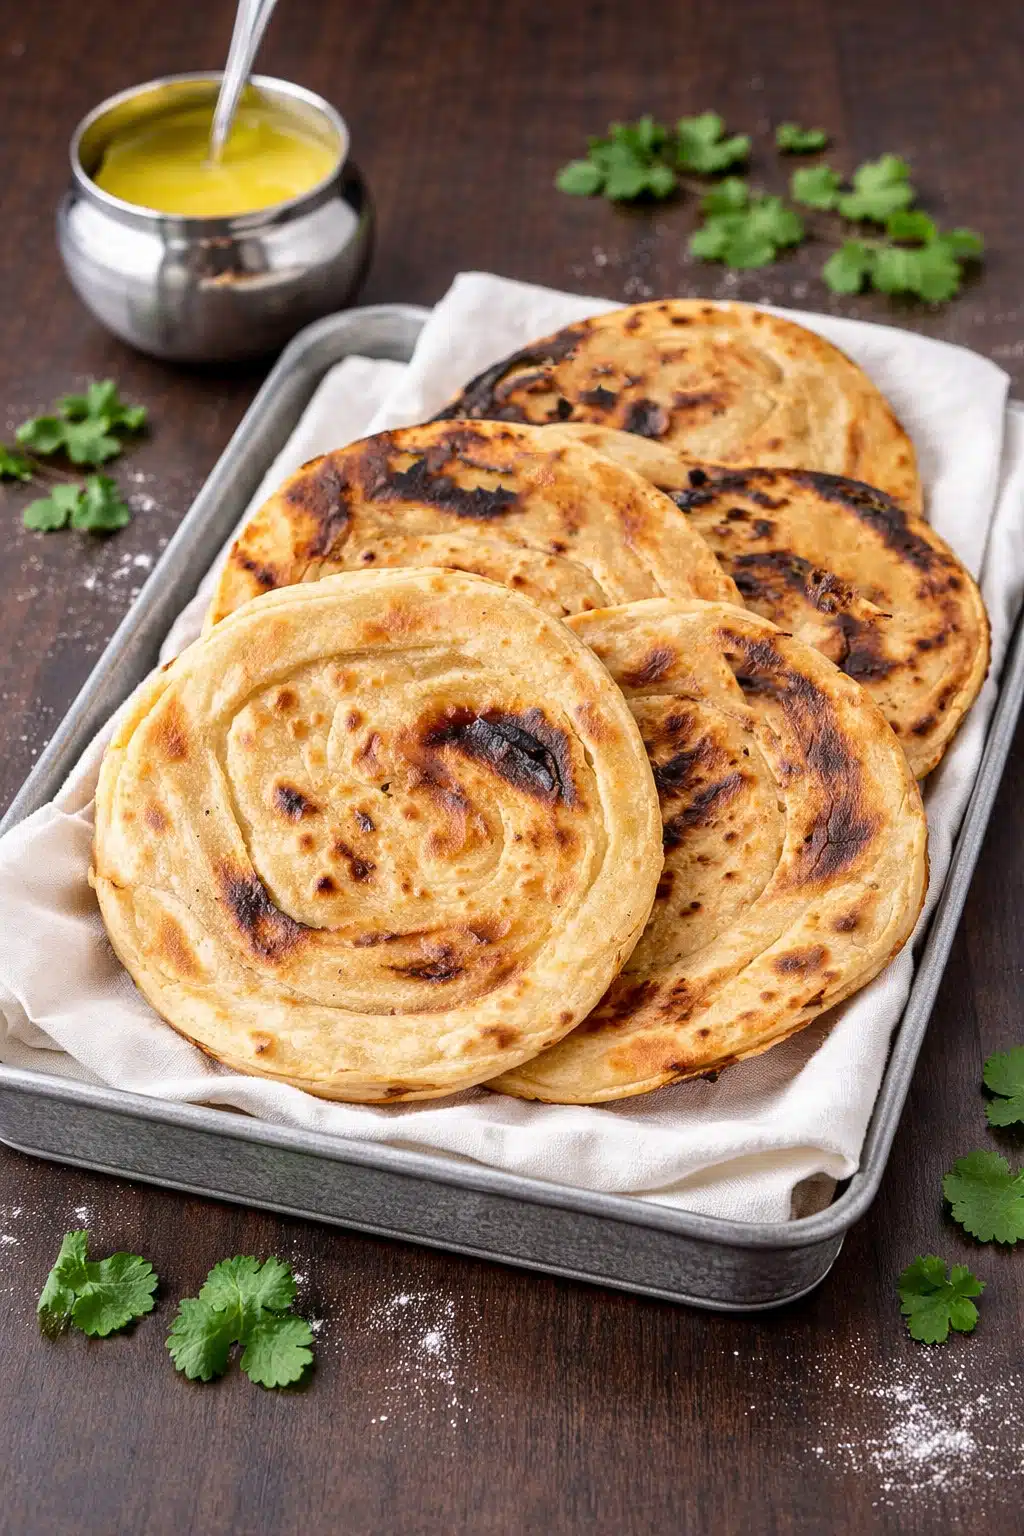
Craving soft, smoky, restaurant-style tandoori roti but do not have a tandoor or oven at home? This Tandoori Roti Without Oven recipe is the perfect answer. Made with simple pantry staples like whole wheat flour, curd or buttermilk, and finished with ghee, these rotis turn out rustic, flavorful, and beautifully charred right on the stovetop.
What is Tandoori Roti Without oven?
Tandoori roti is a traditional Indian flatbread usually cooked inside a very hot clay oven called a tandoor. The intense heat gives the roti its characteristic smoky flavor, blistered surface, and rustic texture. In this homemade version, the same style is recreated on a stovetop using a hot tawa or skillet.
This recipe captures the essence of authentic tandoori roti without needing special equipment, making it practical for home kitchens.
So, whether you are making a cozy family dinner or want to recreate your favorite North Indian restaurant dish at home, this no-oven tandoori roti is a reliable and satisfying recipe to keep in your kitchen rotation.
A little story about Tandoori roti without oven
Growing up, one of the most cherished sights in our neighborhood was the “Sanjha Chulha,” a shared community stove where all the women gathered to make rotis together. Every evening, my mom and aunts would carry their prepared dough to Biji’s home, where the real magic happened.
Sitting on little modas (small wooden stools), Biji and the neighborhood ladies would roll “Paleche wali roti” meaning “Roti in layers,” and cook rotis one after another, talking, laughing, and sharing stories as they worked.
By the end of the evening, nearly 60 to 70 rotis would be cooked on that single tandoor, enough for several families to take back home and enjoy with dinner. It was more than just cooking; it was a beautiful tradition of togetherness, warmth, and community. Today, as I make these rotis in my own kitchen, their familiar sight and aroma bring back a wave of nostalgia for those simple, love-filled days.
Reasons You’ll ♡ Tandoori Roti Without Oven
This recipe is worth making again and again because —
- It gives you restaurant-style tandoori roti at home,
- No oven or tandoor is required,
- Made with basic ingredients,
- No yeast, no oven, and no complicated equipment needed,
- Soft inside with slightly crisp and charred spots outside,
- Easy to scale for family meals,
- Brushed with ghee for rich, authentic flavor!
This easy Indian flatbread recipe delivers the same hearty texture and delicious taste you expect from dhaba-style tandoori roti, but with a simple home-cooking method.
What is the ingredient list for Tandoori Roti without oven?
Flour — Whole wheat flour, also known as atta, is the main base of this recipe. It gives the roti its wholesome flavor, slightly chewy texture, and hearty structure. For the best results, use atta that is finely ground and not too coarse. Good-quality flour makes a noticeable difference in how soft and pliable the dough feels.
Why do you add curd to tandoori roti dough? Curd adds softness, flavor, and a light tang to the dough. This is one of the key ingredients that helps create that restaurant-style tandoori roti texture without needing a tandoor. The acidity helps tenderize the dough slightly, making the rotis softer and more flavorful.
Water — is used to bring the dough together and create the right consistency. The exact amount can vary depending on the flour, the thickness of the curd, and even the weather. That is why it is best to add the water gradually instead of all at once.
Oil — A small amount of oil is added after the dough begins to come together. This helps smooth the dough, makes kneading easier, and contributes to a softer final texture. It also prevents the dough from drying out too quickly while resting.
You only need a little, but it helps give the dough a more supple feel.
Ghee — is brushed over the hot rotis right after cooking. This finishing touch gives tandoori roti its rich aroma, glossy look, and irresistible flavor. It also helps keep the rotis soft for longer.
For a more indulgent, restaurant-style result, do not skip the ghee. If preferred, you can adjust the amount depending on how rich you want the rotis to be.
Recipe Tips and Variations
A few smart techniques can make the difference between a good roti and a truly delicious one. These tips will help you get soft, flavorful, beautifully cooked tandoori roti without oven every time.
Use a soft dough — The dough should feel soft and pliable when you finish kneading it. This is one of the most important details in the recipe. If the dough is too tight or firm, the rotis will turn out dense and hard instead of soft and slightly chewy.
Rest the dough — This step is essential. It relaxes the gluten and allows the flour to absorb the moisture properly. This makes the dough softer, easier to roll, and less likely to spring back when flattened.
Heat the tawa properly — A very hot skillet is important for creating those signature blisters and charred patches. If the pan is not hot enough, the rotis will cook too slowly, leaving them dry and tough.
Use the right pan — If you want to try the upside-down flame method for a more tandoor-like effect, use a sturdy iron tawa or a pan that is safe for direct flame. Avoid nonstick cookware for this technique.
How to make garlic tandoori roti? Mix freshly minced garlic into melted butter or ghee and brush it over the rotis as soon as they are cooked. You can also sprinkle chopped cilantro on top for extra flavor. This version pairs especially well with paneer dishes and creamy curries.
Can I make Multigrain tandoori Roti without oven? Absolutely! Replace part of the wheat flour with multigrain flour or a small amount of millet flour for a more wholesome and earthy version. Keep in mind that alternative flours can change the texture, so do not replace too much at once if you still want a soft roti.
How can I make Stuffed Tandoori roti without oven? You can also turn this into a stuffed flatbread by filling it with spiced paneer, mashed potatoes, or grated vegetables. Seal, roll gently, and cook on medium-high heat. This variation is more filling and works well as a complete meal.
What to Serve with Tandoori Roti Without oven?
This no-oven tandoori roti tastes amazing with:
It also works beautifully as part of a festive Indian dinner spread.
Can tandoori roti be made on a tawa? Yes, tandoori roti can be made on a tawa. A hot skillet or tawa helps create blistered, slightly charred rotis that closely resemble traditional tandoori roti.
What is the difference between tandoori roti and chapati? Tandoori roti is usually thicker, more rustic, and has charred spots from high-heat cooking. Chapati is thinner, softer, and usually cooked entirely on a flat pan without the same smoky effect.
How do you keep tandoori roti soft? Keep tandoori roti soft by making a soft dough, not overcooking it, brushing it with ghee immediately after cooking, and storing it covered in a towel or casserole.
Why does homemade tandoori roti turn hard sometimes? Homemade tandoori roti can turn hard if the dough is too dry, the rotis are rolled too thin, or they are cooked too long. A soft dough and high-heat, quick-cooking work best.
Can beginners make tandoori roti without a tandoor? Yes, beginners can easily make tandoori roti without a tandoor by using a stovetop tawa and following a simple dough-and-roll method.
Let me know what you think!
Even though the ingredient list is simple, the texture and flavor of tandoori roti depend heavily on how you treat the dough and cook the rotis. With the right balance of softness, heat, and finishing ghee, you can make incredibly satisfying tandoori roti without oven right in your home kitchen.
All you need is just a hot tawa, a soft dough, and a few smart tips are enough to create a comforting bread that pairs wonderfully with dal, paneer, sabzi, and rich curries.
Should you make this Tandoori Roti without oven, please let me know your thoughts by sharing your comment below.
And don’t forget to share it with your family and friends.
CRAVING FOR MORE, TRY THESE OTHER RECIPES:
Tandoori Roti Without Oven
EQUIPMENT
INGREDIENTS
FOR THE ROTIS
- 2¼ cup Wheat Flour (Atta)
- ½ cup Beaten Curd (yogurt)
- ¾ cup Water add slowly and gradually
- – – salt to taste
- 1 tablespoon Oil to finish up the dough
TO COOK ROTIS
- 2 tablespoons Ghee for each roti
INSTRUCTIONS
- In a large bowl, add the wheat flour and salt. Mix in the curd.Tip — Do not skip salt. Salt enhances the overall flavor of the rotis and balances the mild tanginess from the dairy.


- Gradually add water and knead into a soft dough. When mixing the dough, add the water slowly and stop when the dough feels soft but manageable. It should not feel dry at all.Tip — If your atta tends to absorb more water than usual, you may need to adjust the amount of liquid slightly. Different brands can behave differently, so always go by the feel of the dough rather than the exact measurement alone.

- Once the dough starts coming together, add oil and continue kneading for 5 to 7 minutes until smooth. Do not rush this step. Kneading the dough well helps develop the structure needed for smooth, easy-to-roll rotis. A well-kneaded dough is easier to work with and gives a better texture after cooking.Tip — If the dough feels rough at first, keep kneading. It should become smoother and more elastic as you go.

- Cover and let the dough rest. A resting time of 20 to 30 minutes works well, but even a little longer can improve the texture further.

- Heat a kadai over medium heat. Always preheat the tawa well before placing the first roti on it. Tip — Use an old kadai to make tandoori rotis.


- Take a golf-sized ball of wheat dough and roll it into a small circle.


- Spread oil/ghee on the circle.

- Using a knife, cut the circle from one end.

- Starting at one end, roll the circle.

- Keep rolling…

- Till you reach the other end.


- It should look like a flower bud, as shown in the picture.


- Start pressing down on the dough.

- Secure the end part and press it down completely, making it look like a ball again, but with layers.

- Flatten the dough ball and dust it with dry flour.Tip — Do not add too much dry flour while rolling — using too much can make the rotis dry on the outside and affect their final texture. Use just enough flour to prevent sticking.


- Dust it with dry flour and roll it into slightly thicker rotis — Unlike chapatis, tandoori rotis are not meant to be paper-thin. They should be rolled slightly thicker so they can hold their structure, puff nicely, and develop a rustic bite.Tip — If rolled too thin, they may dry out quickly and lose that classic tandoori-style texture.

- Apply water on one side…


- Lift the roti and place it inside the warm kadai. Press it down.

- You can even do two at a time, depending on the size of your kadai.


- Keep the flame on medium, and turn the kadai upside down on the cooktop.The roti should begin to bubble within moments of touching the surface.


- Keep checking in between.Tandoori roti needs medium to medium-high heat to cook, but it still needs attention. Tip — Watch closely and flip or adjust as needed to avoid over-charring. You want dark spots and a smoky look, not a burnt taste throughout.

- If you like your rotis to be less crispy, then lower the flame and cook.

- Some rotis may get stuck to the kadai, no worries. Using a flat spatula, gently press along the side of the stuck rotis, and the rotis will come out easily.

- The bottom part of the roti will look like this.

- If you like it extra cooked, keep the kadai on the flame for a while (in the normal position, not upside down).

- All done tandoori roti.

- Brush with ghee immediatelyTip — As soon as the roti comes off the heat, brush it with ghee while it is still hot. This helps lock in moisture and gives the roti that rich, glossy, restaurant-style finish. If you wait too long, the ghee will not absorb as well.

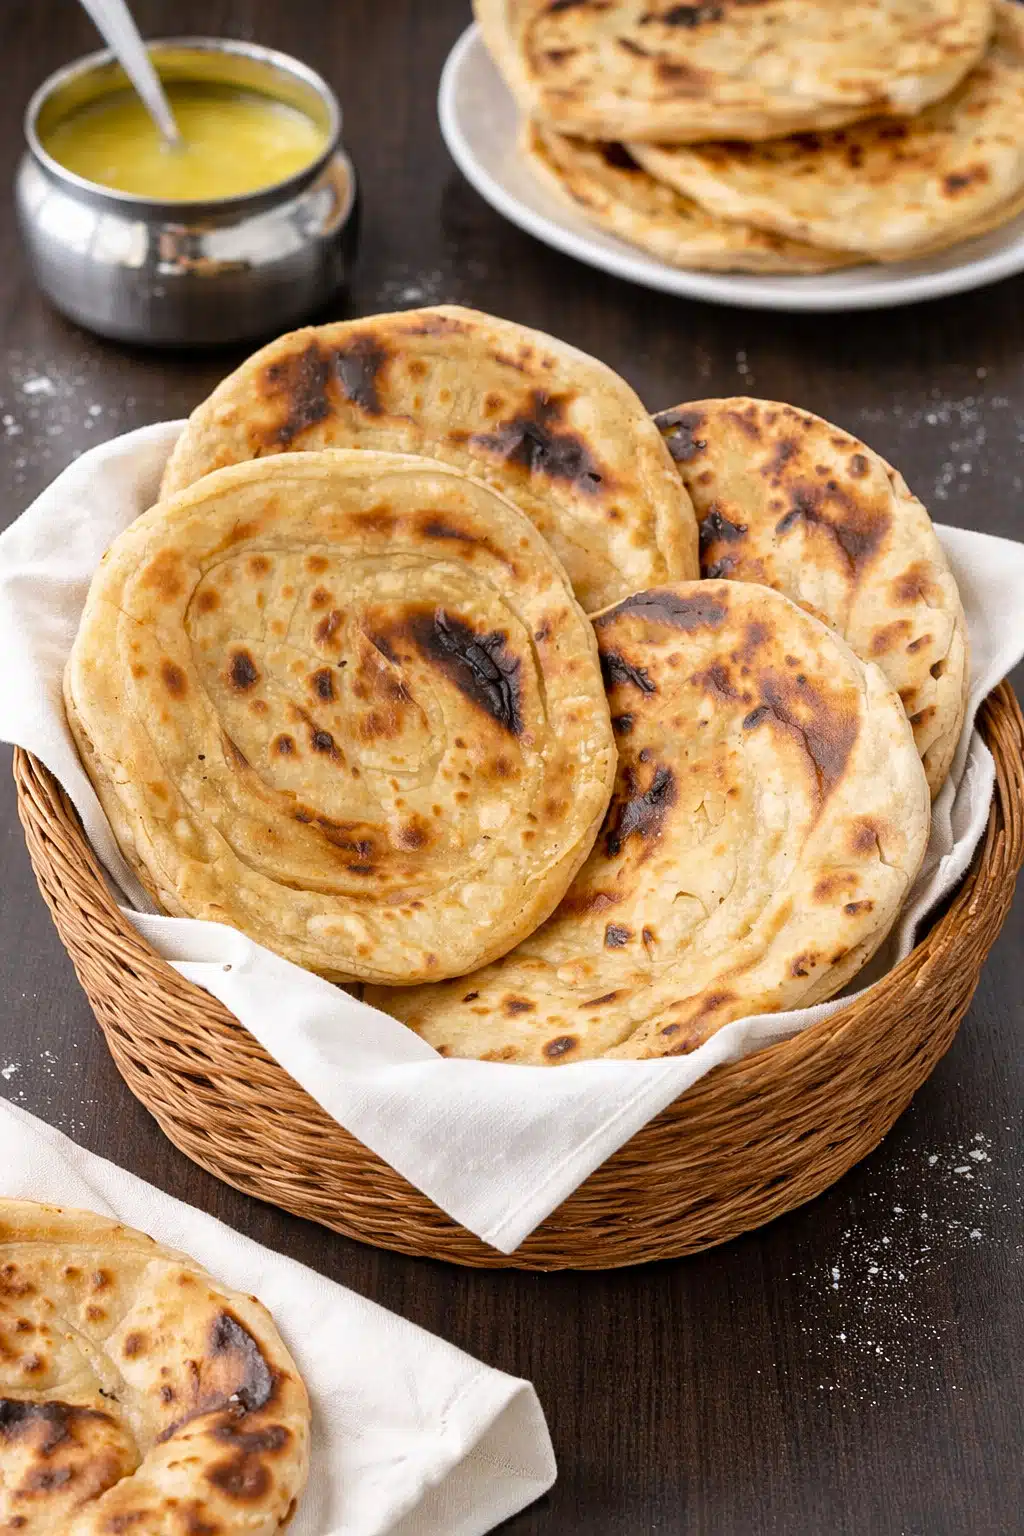
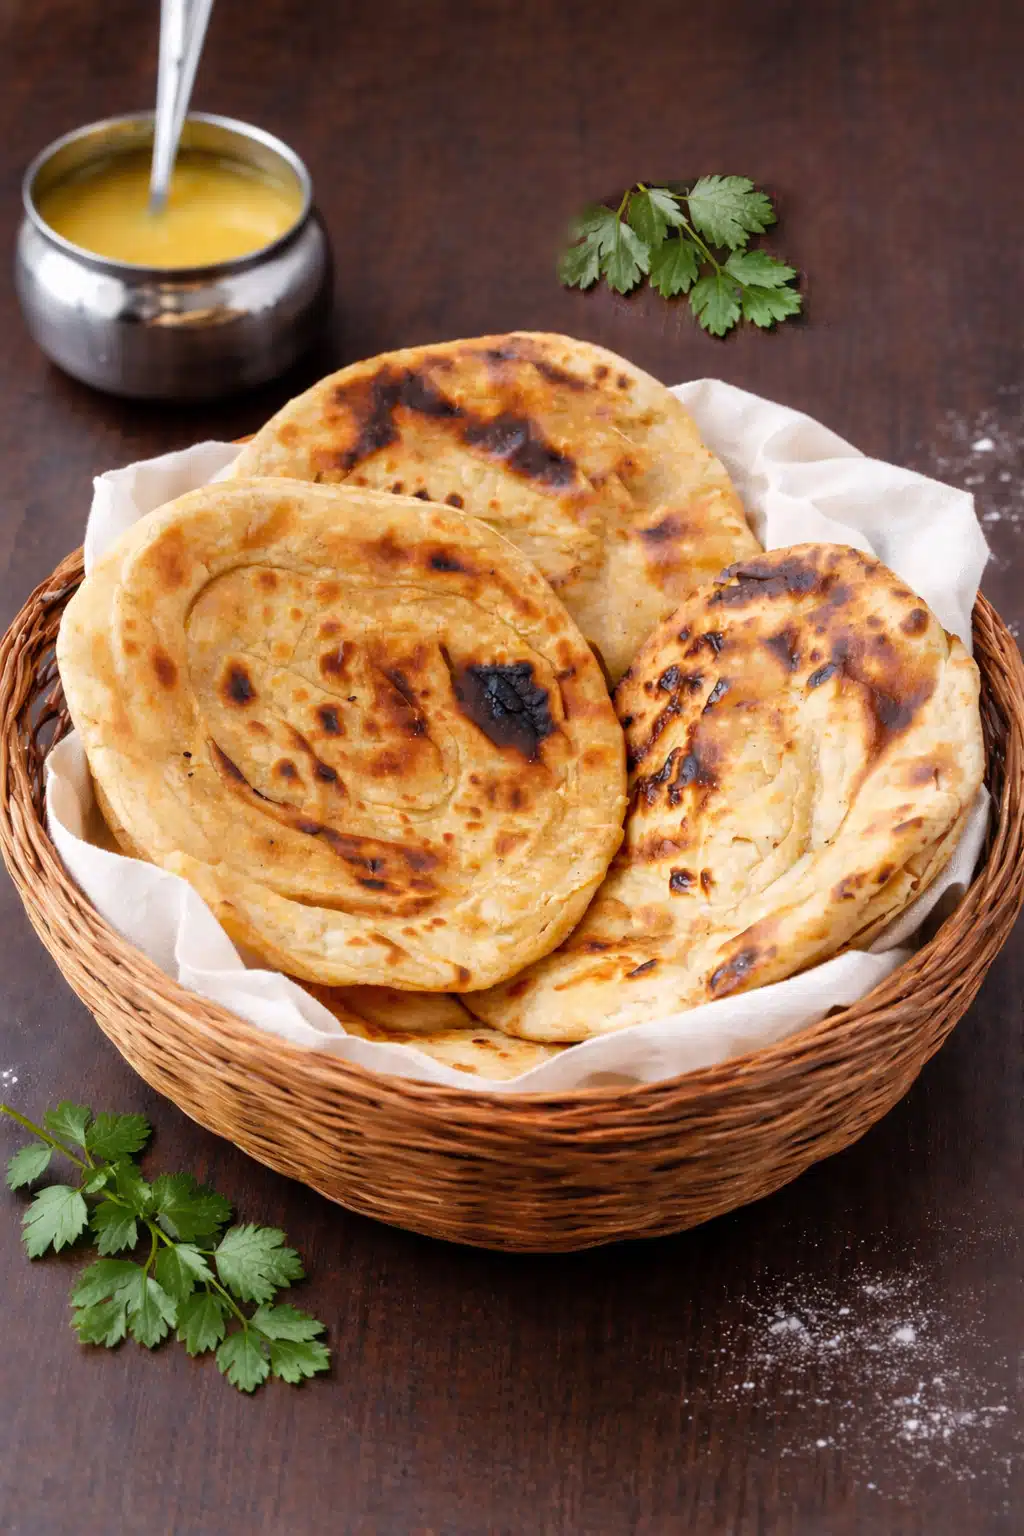
- If you wish, crush the edges of the rotis and store them in a container. Repeat the process with the remaining dough. Tip — Once cooked, stack the rotis and keep them covered in a clean kitchen towel, roti basket, or casserole. This helps trap steam, keeping them warm and soft until serving. Leaving them uncovered for too long can make them dry around the edges.

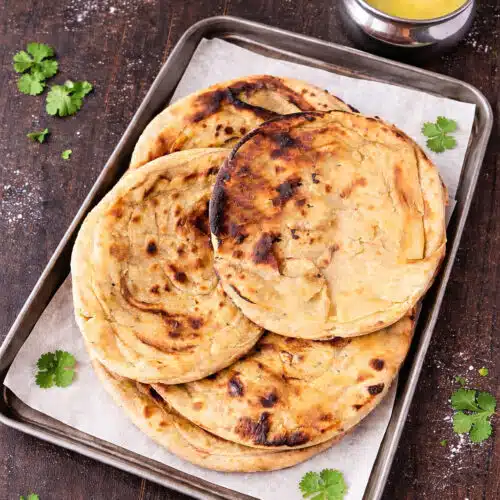
- Tandoori rotis are ready. Enjoy warm rotis with Dal tadka or sabzi for your choice.

RECIPE NOTES
Can I use buttermilk instead of curd?
Yes. Buttermilk works very well in this recipe, adding softness and a mild tangy flavor.Can I make the dough ahead of time?
Yes. The dough can be prepared a few hours in advance and refrigerated. Bring it closer to room temperature before rolling.Is tandoori roti healthy?
Since it is made with whole wheat flour, it is a wholesome flatbread option. The final richness depends on how much ghee is used.Storage Tips
Tandoori roti is best served fresh, but leftovers can be stored too.- Refrigerate in an airtight container for up to 2 days
- Reheat on a hot skillet for a few seconds per side
- Brush lightly with ghee before serving
- Keep covered after reheating for softness
Thanku so much i m missing it for a long time mom ki yaad a gai thanku thanku so much
You are welcome dear. 🙂 Do try out this recipe and if possible share your experience with me. Thanks for stopping by!!
Awesome recipe and method … Loved it for its simplicity
Thanks Tanima. 🙂
such a nice recipe,
Thanks Almas. 🙂
Nice recepe
Thank you!