Popular Indian street food Wheat Ladi Pavs or wheat dinner rolls made from scratch. So soft and fluffy!Wheat Ladi Pav Recipe

Ladi pavs is a popular Mumbai bread that is often paired with batata vada and pav bhaji recipe. After trying out homemade Ladi pavs for years, I have now started making the healthier version – wheat ladi pavs at home. These ladi pavs are both super healthy and super delicious in every bite! Wheat Ladi Pav Recipe
As an added bonus – these Wheat Ladi Pav Recipe can be fully customized. Simply add Italian seasoning, garlic-herb seasoning or any herb of your liking to the dough and enjoy flavored pavs or buns.
The wheat flour that I used is a combination of wheat flour and flax meal. This combination resulted in soft and fluffy pavs. But if you are using regular wheat flour please reduce the flour quantity to 3 cups.

These whole wheat pavs or buns are so moist, wholesome and nutty that you’ll devour them in minutes. And above all they taste amazingly delicious!
How to make Wheat Ladi Pav Recipe?
The preparation of this Wheat Ladi Pav Recipe is very straightforward. Wheat flour mixed with yeast, oil, and water creates the softest and fluffy homemade pavs. Simply follow the instructions below for soft and fluffy pavs.
After the yeast has activated, combine all the ingredients and knead a soft pliable dough. Let the dough sit undisturbed for at least an hour. All the secret lies in the resting time.

The dough will rise even faster if you place the dough bowl in a warm corner – for me, it was my bright and sunny kitchen window. This will be the initial rise of the dough and after the initial rise you will find the dough all puffed up.
After the resting time, if you find the dough too sticky dust it with some extra flour and divide it into equal parts. Place the rolled/shaped out dough into a greased baking tray, cover with a damp cloth and let it sit for another 30 – 40 minutes.
This is the last and final rise and it plays a very important role in how the pavs are going to end up. If they rise, we will end up having nice puffy pavs but if they fail to rise, we will have flat and round pavs – like the one in the upper left corner. 🙁
Bake and enjoy with vada pav or pav bhaji recipe. Also check out Homemade Ladi pavs, vada pav recipe.
If you happen to make this recipe, please share your yum pictures with me on Facebook. Would love to see your creation!
Cheers!

Wheat Ladi Pav Recipe
INGREDIENTS
YEAST PREPARATION
- 2¼ teaspoons Active dry yeast
- 2½ tablespoons Sugar
- ¼ cup Lukewarm water
PAV DOUGH – THIS RECIPE YIELDS 12 PAVS
- 3 cups Whole Wheat Flour Atta
- 1½ teaspoons Salt
- ½ cup Oil or Butter
- 1¼ cups Water OR buttermilk start with 1 cup. If needed slowly add the ¼ cup.
- 2 tablespoons Butter to brush the top
GARNISH
- 1 teaspoon Black sesame seeds (optional)
INSTRUCTIONS
- Assemble: all the ingredients.


- And wheat flour.

- In a microwavable bowl, heat water. Water should be LUKEWARM. Take it off the flame and mix in yeast and sugar.

- Mix well. Allow it to sit for 5 minutes until it activates and becomes all frothy and bubbly.

- Just like this. If yeast is not bubbly, please discard and start over again. Do not proceed without activating the yeast first.

- Transfer wheat flour to a large bowl..

- Add salt..

- Start kneading the dough by slowly pouring in the yeast mixture.
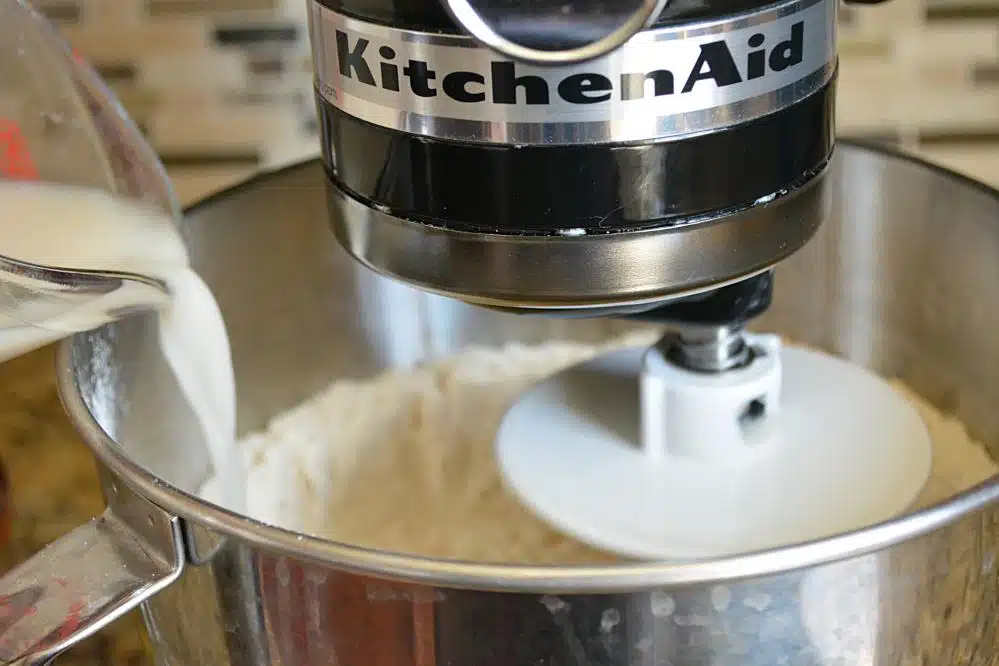
- Pour in oil..

- Add water and knead a soft, pliable dough. Adjust water accordingly. Depending on the quality of the flour, you may need less or a little more water to knead a smooth, pliable dough.

- Cover the dough with a damp cloth and let it rest for 2 hours in a warm place.

- The dough will double in size and will become airy and puffy.

- Remove the dough from the bowl and knead for 5-10 minutes. This step is important for dough elasticity and gluten formation. If the dough feels sticky dust it with some extra flour and you should be good.

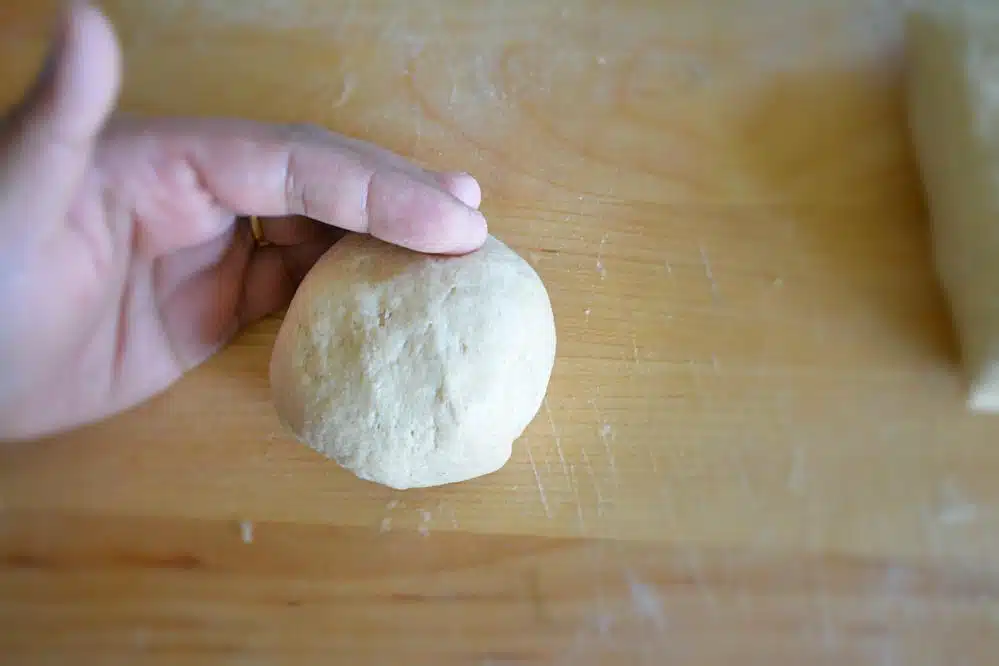
- Divide into equal parts and start rolling one end of the dough.

- Keep rolling till it forms a round shape.

- Give it a smooth finish and make it look like a ball.
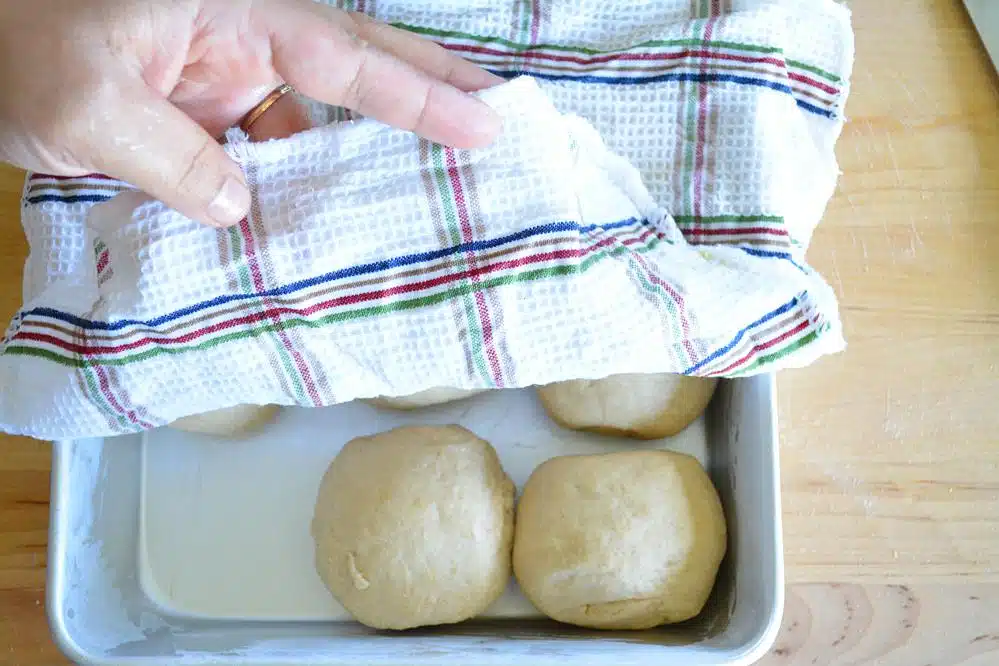
- Arrange the dough balls in a greased baking tray.

- Cover it with a wet cloth and let it rise for another 30 minutes to an hour.
- All puffed up dough. Preheat oven @ 400 degree F.

- Bake for 12 – 15 minutes. If the top is not brown in the desired time, take the pavs closer to the top heating element (or broil) and let it sit for 1-2 minutes until top is light brown in color.

- While broiling, keep a watchful eye as the pavs can burn easily if left unattended.

- Pav may feel hard on to when removed from oven. No worries. Generously brush the top with butter….

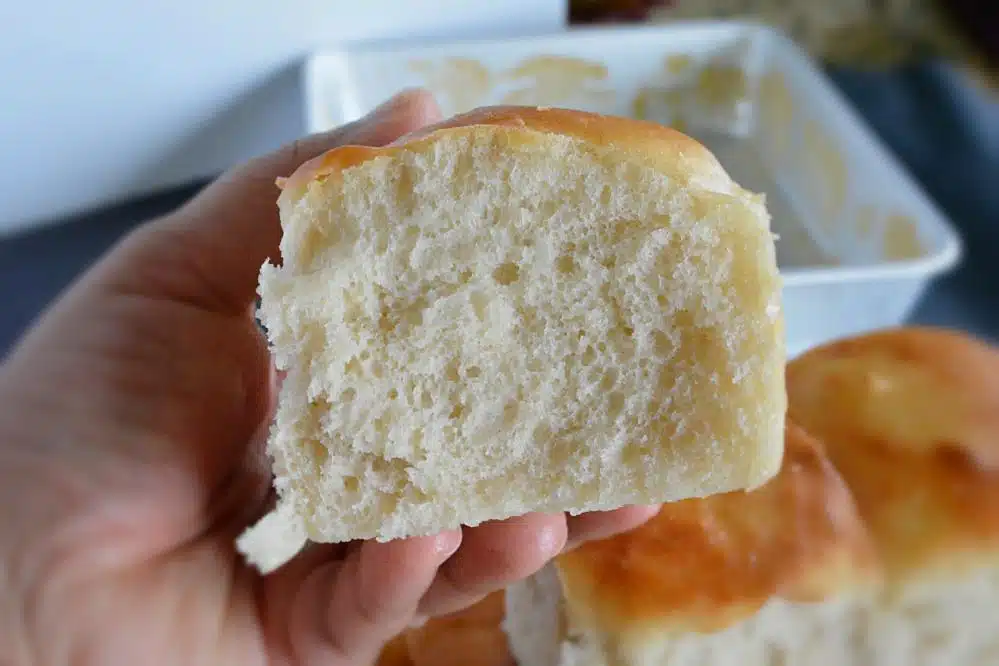
- And you will end up with soft,fluffy and ready to eat pavs..
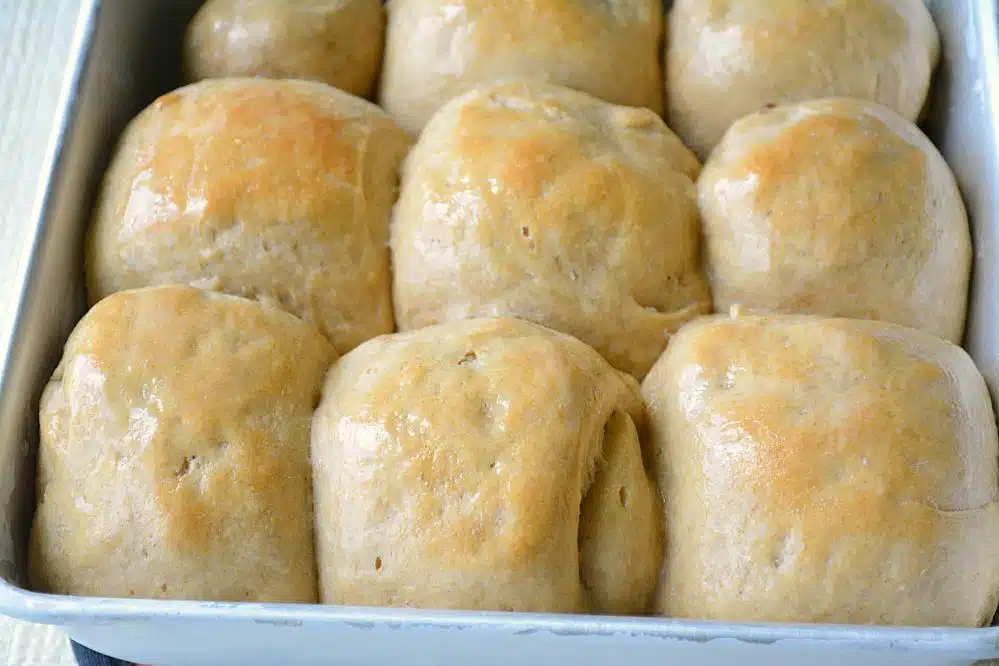
- Closer look at the wheat pavs..

- Enjoy with bhaji recipe.

RECIPE NOTES


Hi,
Which brand of yeast do u use? And where can i get in Delhi?
Thanks for stopping by Aashi. I have used the dry active yeast in my recipe and it is readily available in all departmental stores. Hope that helps!
Nice recipe. Will try out the healthy version. I have read at website switch maida with wheat flour but never knew how to do so. Thank you for providing the insight. Exploring your blog!!
You are welcome Sobha! Thanks for stopping by and do give this recipe a try and I sure you are going to like it.
Lovely receipe
Thanks Manju. Glad you liked it. 🙂
Hi…thanks for sharing the recipe…i tried baking the same in a convection mode, but d pav was soft and uncooked at the base….any idea why that would have happened ? To ‘dry up’ the moist base, i turned the pavs over and microwaved for 1 min….this led to hard pavs !
Thanks for trying out the recipe Deepali.
Pavs uncooked at the base – There are couple of reasons for that. 1. Preheat the oven well before baking, this will yield great results. 2.If the tray was kept away from the bottom heating rack then it will result in uncooked base.
Moist base – Once they are out from the oven, remove the pav from the baking tray and allow them to cool down on a wire rack. If allowed to sit too long in the baking tray they will turn moist and remain wet at the base due to heat condensation. To dry up the moist base, place the pav upside down and let it air dry. Overcooking of pavs will result in harder pavs. I hope I have answered all your questions.
Yes…will try again…appreciate the quick response 🙂
You are welcome dear. Do give it a try again and if you need help, I am here. 🙂