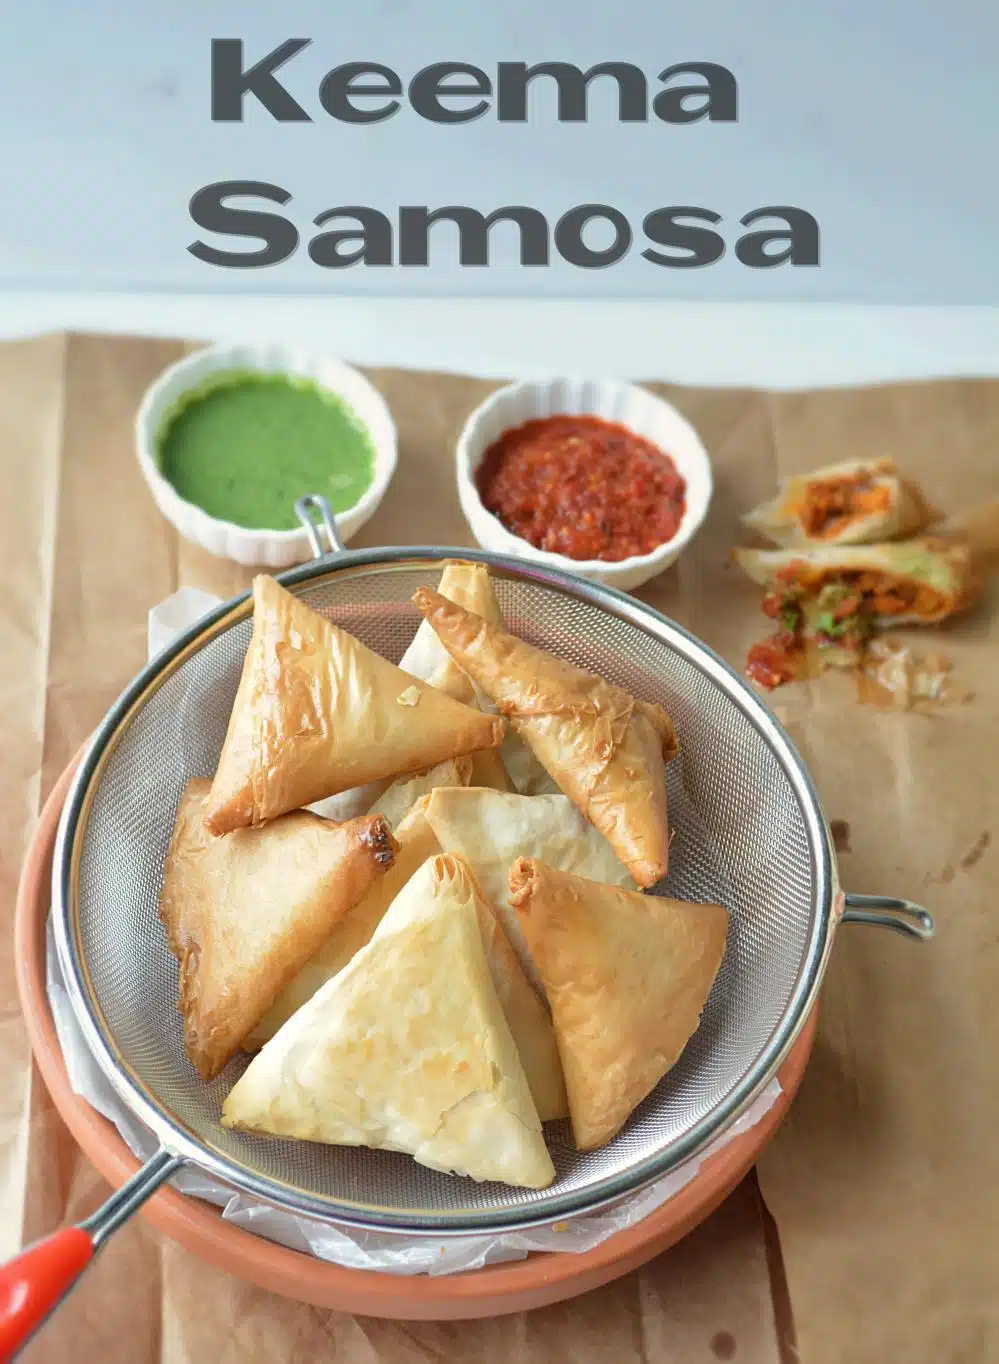
Rains and samosas…. delicious combination. Can never say no to samosas. Had Phyllo sheets on hand so prepared a flavor-licious recipe – Chicken Keema Samosa.
Minced chicken sauteed in spices then wrapped in pastry sheets and baked to perfection!! Prepared both the non- veg samosas and veggie samosas for my family! Don’t let the long list of ingredients daunt you from trying out this delicious recipe, once the meat mixture is done from there on the recipe is pretty easy. 
Chicken can be substituted with mutton; substitute it with tofu, potato-peas mixture, or even paneer for vegetarian options. The meat mixture is easy to put together and most of the time goes in assembling the samosas, well its worth the effort. Keema filling is very delicious, with bold and aromatic flavors. If you plan to make it for a party then prepare it ahead of time and let the flavors set in. I have used store bought Phyllo sheets but you can substitute Phyllo with-
- Wonton or eggroll wrappers – pretty close option to authentic samosa crust.
- Puff pastry sheets
- Spring roll wrappers
- Homemade smaosa crust – Recipe explained below – Veggie samosa pictures used.


Phyllo dough may seem a bit difficult to work with, if you are a first-timer. But don’t worry follow the step by step tutorial below and you will be a pro at it. Just remember that unused Phyllo dough needs to be covered with a damp cloth at all times, leaving it open may result in crumbly and dry sheets that would be impossible to work with. Even miniature phyllo shells can be very healthy, yummy and delicious option.
If you like spicy samosa than tailor the filling as per your taste, add green chilies for an extra kick!
Below I have shown both methods for Phyllo dough – Baked and fried. I baked the samosa in the oven at 350 degrees until the dough was golden and before tossing them in the oven I brushed them with melted butter for an extra flaky and crispy samosas. Always a a crowd pleaser recipe. Be sure to have a nice spicy green chutney on the side to dip the samosas in.

Keema Samosa
INGREDIENTS
KEEMA INGREDIENTS
- ½ kg Minced Keema
- 3 pieces of Bay leaves (Tej patta)
- 3 pieces of Moti Elaichi (Black cardamom)
- ½ teaspoon Cumin seeds (Jeera)
- ½ teaspoon Red chili powder
- 2 teaspoons Coriander powder (sukha dhaniya)
- 1½ teaspoon Garam Masala Powder
- 1 small onion chopped
- 1 small Tomato, chopped
- ¼ cup Homemade tomato puree
- 1 teaspoon Garlic paste, or chopped
- 1 teaspoon Ginger paste, or chopped
- 2 tablespoon Oil or Ghee
- 2 tablespoons Chopped cilantro leaves
PASTRY INGREDIENTS
- 1 roll of Phyllo/Filo dough pastry sheets (Or puff pastry sheets)
- 2 tablespoons Butter (Just to brush pastry sheets)
- 2 tablespoons Water (To seal pastry)
HOMEMADE SAMOSA WRAP
- 2 cups Maida
- 4 tablespoons Unsalted butter or Ghee
- ⅛ teaspoon Carom seeds
- 1 teaspoon Baking soda
- Salt to taste
- ⅓ cup Water/Buttermilk (Approximately) (to knead the dough)
- Oil for Frying
INSTRUCTIONS
PHYLLO DOUGH SAMOSAS
- If using Phyllo sheets - take them out of the freezer and thaw it. Let's begin with the keema recipe.


- Assemble: all the spices..


- Other ingredients..

- Clean and wash chicken.

- Heat oil in a pan and add all the whole spices. When they start to sputter...

- Add chopped onions, garlic and ginger.

- Saute for 2-3 minutes on medium flame until onions are translucent.

- Mix in chopped tomatoes, tomato puree and mix it well.

- Add all the spices and cook for another 2-3 minutes on a medium low flame.

- Once oil/ghee starts to separate, add in minced chicken and mix it well.

- Cover the pan and cook for 10-15 minutes on a low flame. Depending on the chicken it may release some liquid in the gravy- it's just fine, keep sauteing. Adjust seasonings and cook till all the liquid has evaporated and keema feels dry. Allow it to cool down completely. Make sure the keema stuffing completely cooled off and dry before stuffing.

- Assemble: all the ingredients needed for samosa preparation. All you need is cooked keema, butter and water.


- Take out one roll from the box...

- Cut the packet and roll out the sheets.

- Cut a rectangular piece out of the pastry sheets...

- Separate them..


- And cover rest of the sheets with a damp cloth. Make sure they are totally covered or else they will dry out and start breaking apart.

- I choose to cover them by placing a wire rack on top of them this way the top layer will not stick to the damp cloth.

- Separate 3 sheets from the cut batch and cover the rest.

- Brush the sheets with butter..

- Place 1 teaspoon or tablespoon (depending on how stuffy you want your samosas to be) in one corner.

- Start folding the sheets by making the first triangle.

- Lift and fold it over. It is still a half triangle..

- Again lift and fold it on the other side, making it look like a triangle..

- Keep folding like a triangle...

- Till you reach the end..

- Once you have reached the end, give it a final fold...

- Lift it up and using a sharp scissors trim the extra off..

- See that loose end, seal all the loose sheets, by applying some water on the edges. Press ,seal and samosa is ready.

- Preheat oven at 350 degree F. Finish up with rest of the sheets. Grease a baking tray and place samosas over it.

- Give them a final brushing with butter...

- And place them in the hot oven to bake.

- Once baked from top, flip them over.

- Bake until they are light brown and evenly toasty from both the sides.

- If you choose to fry them, then heat oil in a kadhai or pan. Once it reaches the smoky point, drop samosas in hot oil and fry till golden brown.

- Drain it on a paper towel.

HOMEMADE SAMOSA WRAP
- If you choose to make homemade crust then - Let's begin with kneading the dough. Assemble: and combine all the ingredients in a bowl and knead a soft dough.


- Cover and set it aside for 10-15 minutes.


- Take a small golf size ball.

- Using a rolling pin roll it out in a circle.

- Using a knife divide the circle into two halves.

- Cut samosa dough down the center.

- As shown in the picture fold one half right in the center.

- Bring the other half and it will form a triangle. Apply water on the edges and seal all the sides leaving the BOTTOM PART OPENED.


- Circle your palm and place samosa triangle in between your palms like a FUNNEL OR A CONE.


- Stuff the keema mixture and apply water on the two open edges and starting from one end keep pressing the two sides together. Keep working your way towards the other end, applying water as needed.


- Securely seal both the ends. Check the samosa for any open ends, if you find any seal it by applying some water. Samosas all ready for frying.

- In a pan heat oil and when hot, lower the heat and fry these samosas till golden brown in color.

- Remove and place them on a paper towel to drain the excess oil.

- Samosas are ready enjoy them with chutney of your choice.

Very soon this web page will be famous amid all blog people, due to it’s good recipes. Amazing recipe and a very long post but I like reading and seeing all your images. You have not even missed a single step. Have always been reluctant on trying out phyllo, but with your steps I have got the confidence to try it out. Thanks you really inspire me.
Glad to be of help Sydney! Give this recipe a try and if possible share your experience with me.Thanks for stopping by!!
Very neat blog post.Thanks for maintaining it. So nice of you to share lovely delicious, easy to understand detailed recipes with your viewers. Thank u soo much Ruchi, for this yummy samosa recipe, I made it today and its really gud and very simple to make…Just one query can I store the leftover filling mixture in the freezer for later use?
You are welcome Aisha! Glad you liked the recipe! Yes, you can freeze the leftover keema mixture in an airtight container for future use.
Followed a link from another site and landed on your site. Have been on your page for 40 minutes now and exploring your recipes and festival section. Pretty impressive work. Have saved it and I am going to try out this Keema samosa recipe of your. Looks tempting and well depicted. Thanks for sharing!
You are welcome Cassy! Thanks for your wonderful feedback. Sure give it a try and if possible share your experience with me. 🙂
Hey Ruchi! another great post thanks! I bought filo dough and just made this tonight for dinner and it is fabulous. The keema recipe itself is amazingly good – so fragrant and delicious! Steps are very very helpful. I am a frequent visitor of your site and your way of explaining and clarity in your every post is why I am drawn to your site every other day and that is why I love your blog so much!
Love from Brazil
That’s so sweet of you Roslyn. Thanks for trying out my recipe. Glad you liked it. Keep checking back for more. 🙂
Nicely made blog! Your pictures and very well versed. Thanks. Tried this recipe from your blog, skipped the tomatoes and followed the stuffing recipe. The covering itself was very crispy and flaky. Tasty ans super yummy. My friends and family raved about the stuffing. Thanks for sharing.
You are welcome Vannu! Thanks for trying it out, glad you liked it. 🙂
Perfect! this is what I was looking for and nicely explained. Will be trying out this recipe soon. Thnks for sharing.
You are welcome Monal. 🙂
Fab recipe. Made it with no tomatoes. In my vision tomatoes may have made filo difficult to work with, left them out and made the recipe with oregano, cayenne and garam masalu. It tasted yum. Wrapped it in Filo and baked. This appetizer was the heart of my party. Everyone just loved it. Bookmarked and will be making it again.
Thanks for trying out the recipe. What an excellent way to make keema – bet oregano and cayenne must have tasted great in the recipe.Glad to hear that you liked it. Keep checking back for updates!!
So yum and lip smacking appetizer. Made it for the game last night and it was gone in a minutes. My guests were craving for more. I had already prepared a big batch and it was all finished. Thanks for making me a rockstar of my party. Muah..love yah..
Thanks for sharing your wonderful feedback with me. Glad to hear that your game night was a hit. 🙂
Hi Ruch, wanted to know the exact quantity of 2 cups of flour in grams.
Bhavna, please use the ‘Metric’ conversion at the bottom of the ingredient list and it will convert the recipe for you in grams.